Master Smoked Turkey Legs: Grill Secrets for Juicy Meat & Crispy Skin
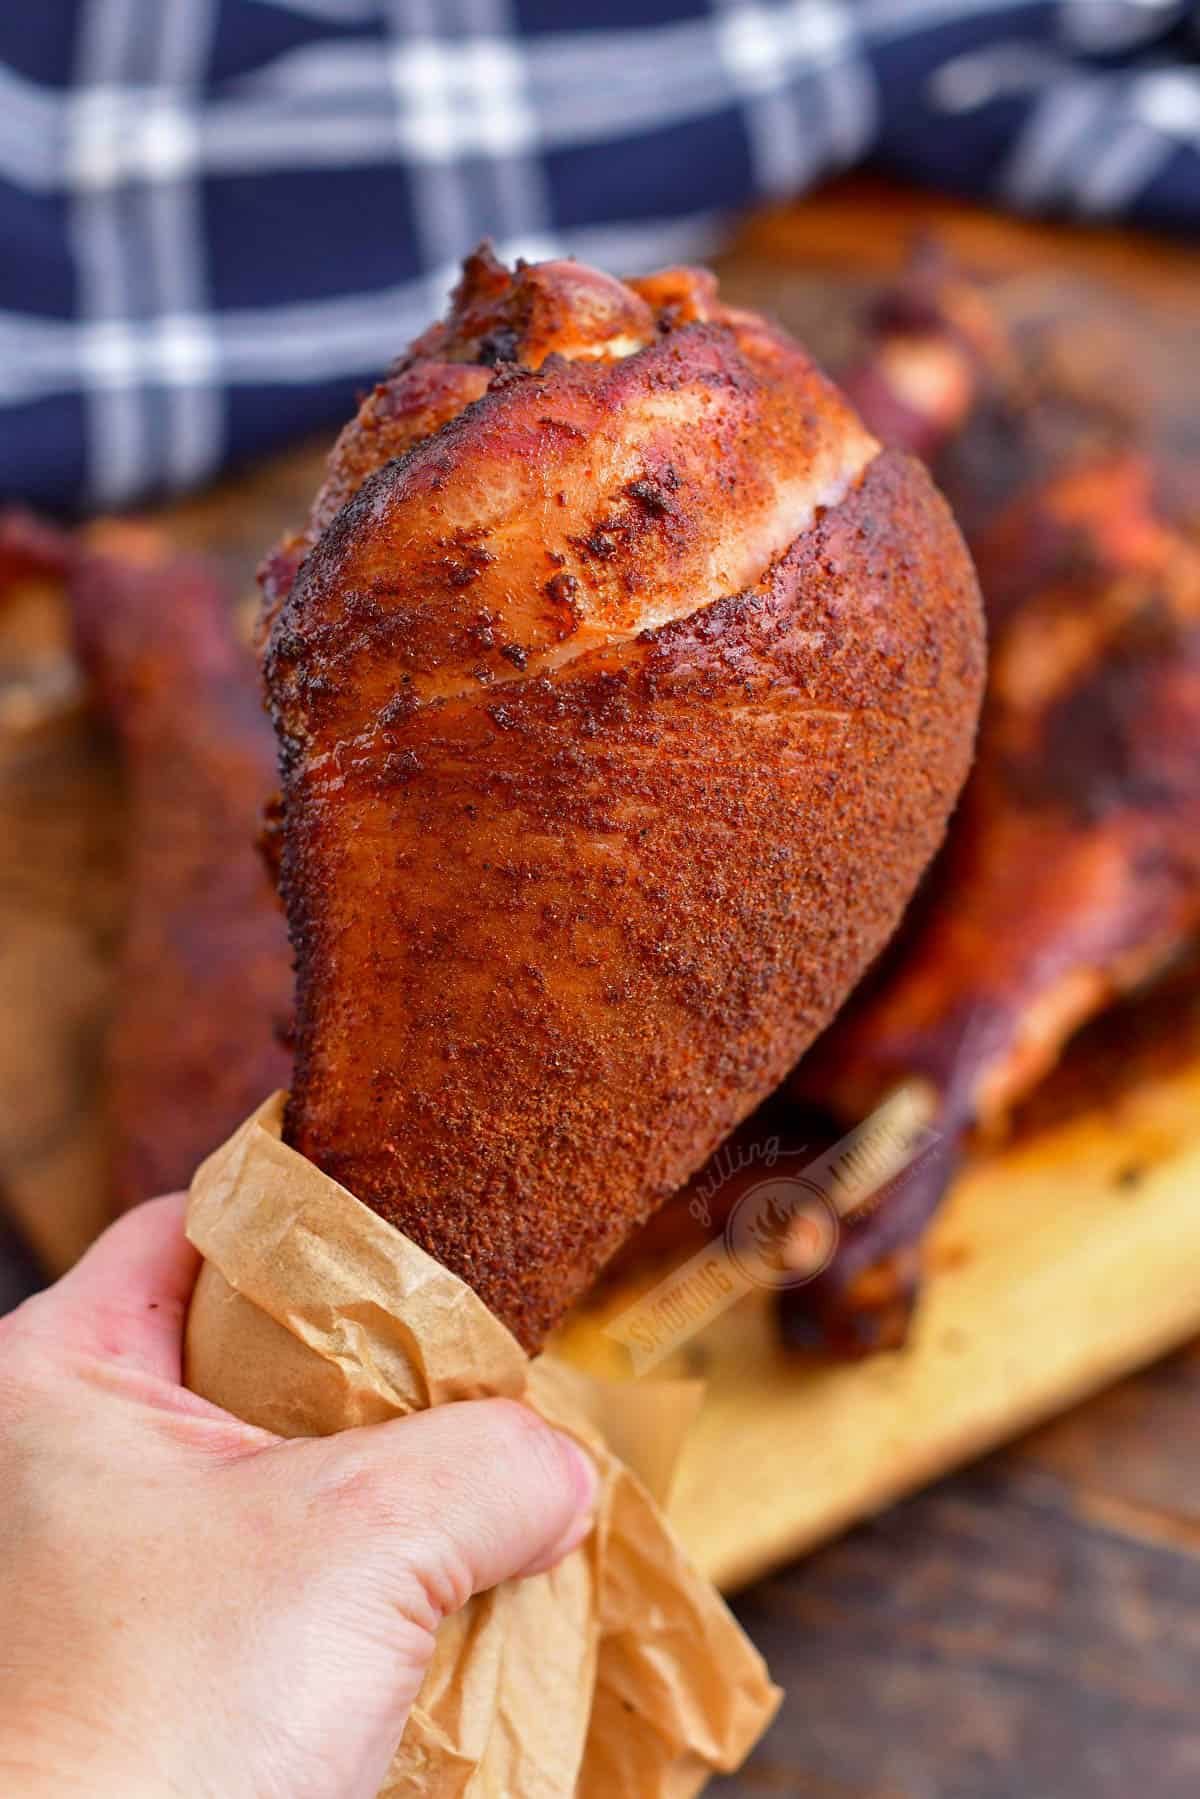
Imagine biting into a perfectly cooked, succulent turkey leg – tender, flavorful meat infused with deep smoky notes, encased in a wonderfully crispy, seasoned skin. While this culinary delight is often associated with bustling fairs and theme parks, the secret to achieving these
fair-style smoked turkey legs at home is surprisingly within reach, right in your backyard, using your trusty charcoal or gas grill. Forget the need for a dedicated smoker; with the right techniques, your grill can transform ordinary turkey drumsticks into an extraordinary, finger-licking experience.
This comprehensive guide will walk you through every essential step, from preparation and seasoning to precise temperature management and achieving that coveted doneness. By focusing on smart brining, a killer dry rub, and strategic grill utilization, you’ll unlock the full potential of smoked turkey legs, ensuring they come out irresistibly juicy with a beautifully rendered, crispy skin every single time.
Why Your Grill is the Ultimate Smoker for Turkey Legs
Many home cooks might assume a dedicated smoker is essential for truly authentic smoked turkey legs. However, your standard backyard grill offers distinct advantages that make it an excellent, often superior, choice for these delicious drumsticks. In fact, using a grill can lead to results that are faster, crispier, and arguably easier to manage for this specific cut of poultry.
One of the primary benefits is **faster cook times**. While a traditional smoker might require 5+ hours to fully cook turkey legs, a grill can accomplish the task in a more efficient 3-4 hours. This expedited cooking is due to the grill's ability to maintain slightly higher internal temperatures, which still allows for ample smoke absorption but accelerates the overall process. This means less waiting and more savoring!
Crucially, a grill excels at creating that sought-after **crispy skin**. The higher, more variable heat zones on a grill, particularly when finishing, help render the fat in the skin much more effectively than the lower, often moister environment of many dedicated smokers. This direct contact with heat allows the skin to brown and crisp up to perfection, providing a delightful textural contrast to the tender meat beneath. For more on this, check out how you can
Grill Smoked Turkey Legs: Faster, Crispier, and Easier Than a Smoker.
Grilling also offers a **simpler setup** for smoking. There's no need to fuss with water pans or intricate multi-zone heat management that specialized smokers often demand. For charcoal grills, it's as simple as pushing coals to one side for indirect heat. For gas grills, you simply turn off the burners directly under the turkey legs and use adjacent burners for heat. As fat and juices drip onto the hot coals or flavorizer bars, they vaporize, creating additional flavorful smoke that further infuses the turkey legs with delicious character. Furthermore, turkey legs are perfectly sized for most standard backyard grills, making them an ideal candidate for this method, serving 2-4 people efficiently. While it does require some attentive monitoring and rotation for even cooking, the resulting taste and texture are unparalleled, making it a worthwhile endeavor for any BBQ enthusiast.
The Art of Preparation: Brining, Drying, and Rubbing
Before any heat touches your turkey legs, thoughtful preparation is paramount. These initial steps lay the groundwork for unbelievably juicy meat and a flavor-packed experience.
Step 1: Brine for Unrivaled Juiciness
The first, and arguably most critical, step to achieving profoundly juicy and seasoned turkey legs is brining. A simple saltwater brine works wonders, not only tenderizing the meat but also infusing it with flavor and helping it retain moisture throughout the smoking process. This also contributes to slightly faster cooking.
To create your brine, combine:
- 1/2 cup kosher salt (or non-iodized salt)
- 1/2 cup brown sugar
- 1 gallon of water
Dissolve the salt and brown sugar thoroughly in the water. Submerge your thawed turkey legs completely in this brine solution. If you're aiming for those impressive "jumbo" fair-style legs, don't hesitate to ask your local butcher for help sourcing larger, male turkey legs if they aren't readily available. Once submerged, refrigerate the legs for a minimum of 6 hours, and up to 12 hours. The salt works by breaking down muscle fibers, allowing the meat to absorb moisture and seasoning, while the brown sugar adds a subtle sweetness that balances the salty notes and promotes beautiful caramelization on the skin.
After brining, remove the turkey legs and **rinse them thoroughly** under cold water to remove any excess salt from the surface. Pat them *completely dry* with paper towels. This drying step is crucial. For an even better result, let the rinsed and patted-dry legs air-dry in the refrigerator for about an hour. This process helps form a "pellicle" – a tacky, slightly dry outer layer on the skin. A good pellicle is essential for smoke to adhere effectively, creating a richer smoky flavor and a beautiful, crisp bark.
Step 2: Crafting a Flavorful Dry Rub
While the brine seasons the meat from within, a well-balanced dry rub adds incredible depth, a beautiful color, and an extra layer of seasoning to the surface of your turkey legs. This homemade rub strikes a perfect balance of sweet, smoky, and spicy notes:
- 2 tablespoons brown sugar
- 1 tablespoon smoked paprika
- 1 tablespoon chili powder
- 1 tablespoon garlic powder
- 1 tablespoon onion powder
- 1 teaspoon dry mustard
- 1 teaspoon black pepper
- 1/2 teaspoon cayenne pepper (adjust to your preferred heat level)
Mix all ingredients thoroughly until uniformly combined. Generously coat each turkey leg with the dry rub, pressing it firmly into the skin to ensure maximum adhesion. Allow the rubbed turkey legs to sit at room temperature for about 30 minutes before placing them on the grill. This brief resting period allows the flavors to meld and the rub to really set into the pellicle. Feel free to experiment with your rub – adding a touch of dried thyme, rosemary, or even a different type of chili powder can personalize the flavor profile to your liking.
Grill Setup and Smoking Technique
Now that your turkey legs are perfectly prepped, it's time to fire up the grill and transform them into smoky masterpieces. The key here is achieving consistent indirect heat and a steady supply of smoke.
Setting Up for Indirect Heat
Whether you have a charcoal or gas grill, the principle is the same: the turkey legs should *not* be placed directly over the heat source.
- Charcoal Grill: Arrange your lit charcoal briquettes or lump charcoal on one side of the grill, creating a hot zone and a cooler, indirect zone. If using wood chunks, place them directly on the hot coals. For wood chips, a foil packet with holes or a smoker box can be placed on the coals.
- Gas Grill: Light only a portion of your burners (e.g., one side or the front/back burners) to achieve your target temperature, leaving the burners directly under where the turkey legs will sit turned off. Place wood chips in a smoker box or a foil packet directly over an active burner to generate smoke.
Adding Smoke and Maintaining Temperature
For that quintessential smoky flavor, you'll need wood. Hardwood chunks or chips work best. Popular choices include hickory (strong and classic BBQ flavor), apple (milder, slightly sweet), cherry (mild, fruity, great color), and pecan (nutty, balanced). If using chips, soak them in water for about 30 minutes to prolong their smoke output, though some pitmasters prefer unsoaked chips for a cleaner, faster smoke burst.
Target a grill temperature of **275-300°F (135-150°C)**. Use a reliable grill thermometer to monitor the temperature, adjusting vents on a charcoal grill or burner settings on a gas grill to maintain consistency. Place the turkey legs on the cooler, indirect side of the grill. Close the lid to allow the smoke to circulate and the temperature to stabilize.
Monitoring and Achieving Crispy Skin
Smoking turkey legs is a patient process, but it’s not set-it-and-forget-it. You'll need to monitor the internal temperature of the legs and rotate them periodically.
- **Rotation:** Every 45-60 minutes, gently rotate the turkey legs to ensure even cooking and color development across all sides.
- **Internal Temperature:** Use a high-quality, instant-read meat thermometer to check the internal temperature in the thickest part of the leg, avoiding the bone. You're aiming for a final temperature of **170-175°F (77-79°C)**. Don't pull them off too early, but also be careful not to overcook, which can lead to dry meat.
- **Crispy Skin Finish:** This is where the grill shines. As the turkey legs approach their target internal temperature (around 160-165°F), you can carefully move them directly over the active heat for 5-10 minutes, flipping frequently, to crisp up the skin. Alternatively, increase the overall grill temperature to around 350-375°F for the last 20-30 minutes of cooking. Watch closely to prevent burning, but this direct or higher heat blast is the secret to that irresistible, golden-brown, crackling skin.
The total cooking time will typically range from 3 to 4 hours, depending on the size of your turkey legs and the consistency of your grill's temperature.
Achieving Perfection: Doneness, Resting, and Serving
The final steps are just as important as the initial preparation and cooking to ensure your smoked turkey legs reach their full potential.
Once your smoked turkey legs reach an internal temperature of **170-175°F (77-79°C)** in the thickest part of the meat (avoiding the bone), they are officially done. Visually, they should possess a deep mahogany color and a beautifully crispy, rendered skin.
Remove the turkey legs from the grill and place them on a cutting board or platter. It's absolutely crucial to **rest the meat** before serving. Loosely tent them with aluminum foil and let them sit for 10-15 minutes. This resting period allows the juices within the meat, which have been driven towards the center during cooking, to redistribute throughout the entire leg. Skipping this step will result in juices running out when you bite in, leading to a drier experience.
After resting, your masterfully smoked turkey legs are ready to be devoured! Serve them whole, fair-style, for an impressive presentation, or you can even carve the meat off the bone for sandwiches, salads, or to add smoky flavor to soups and stews. Pair them with your favorite BBQ sides like coleslaw, corn on the cob, or potato salad for a complete and satisfying meal.
Conclusion
Mastering smoked turkey legs on your grill is a rewarding culinary journey that promises incredibly juicy meat and perfectly crispy skin. By diligently following these steps – from the foundational brine and flavor-packed dry rub, through precise indirect grilling techniques and temperature management, and finally, the crucial resting period – you can consistently produce results that rival any professional pitmaster or theme park vendor. Embrace the process, enjoy the irresistible aromas, and get ready to impress your family and friends with these unforgettable, finger-licking smoked turkey legs. Happy grilling!